Hi all! July was a busy month in the sewing room. Recently, I cleaned my closet and donated several ragged tops (made so long ago!). I’ve been on a mission to replace them, while honoring a pledge I made to myself to use up my remnants. That pledge led me here…to my first pieced top. […]
Although we’ve all felt the strain of the unknown over the past months, for me, there have been some positive things about the quarantine. I’ve truly appreciated the gift of time. It’s been lovely to slow down and savor making things. As Oregon gradually reopens, I hope I can resist the urge to rush! Denim […]
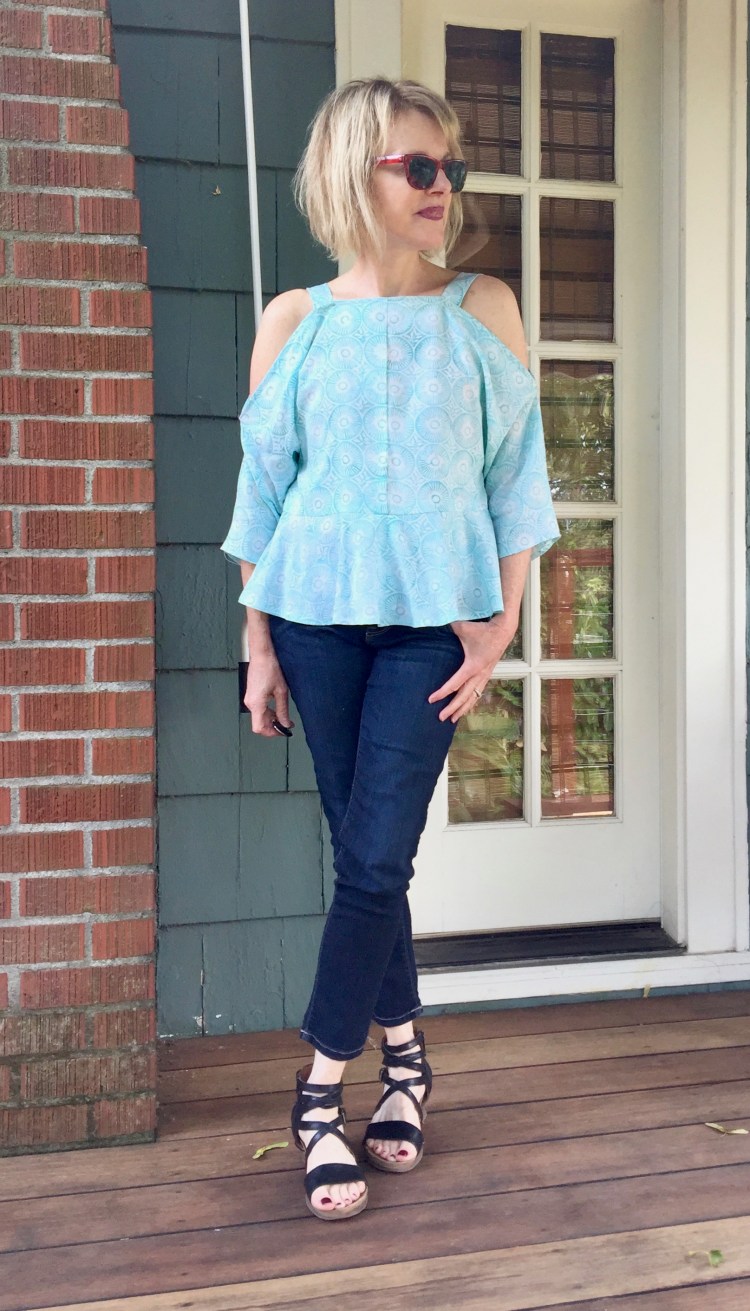
It took me awhile to fall in love with this new pattern by McCall’s. The cold shoulder style put me off at first. I thought I was over that look, but this summer, I’ve discovered that the cold shoulder tops and dresses I made last year (here, and here and here) are the ones I reach for […]
It’s been so hot and smoky here in Oregon. Heavy wildfire smoke has settled over Portland, a depressing reminder of last summer’s fire catastrophe in the Columbia Gorge. But today, things are looking up! The wind is clearing the smoke away, the outside temperature is moderate and it’s safe to be outside again. It’s the […]
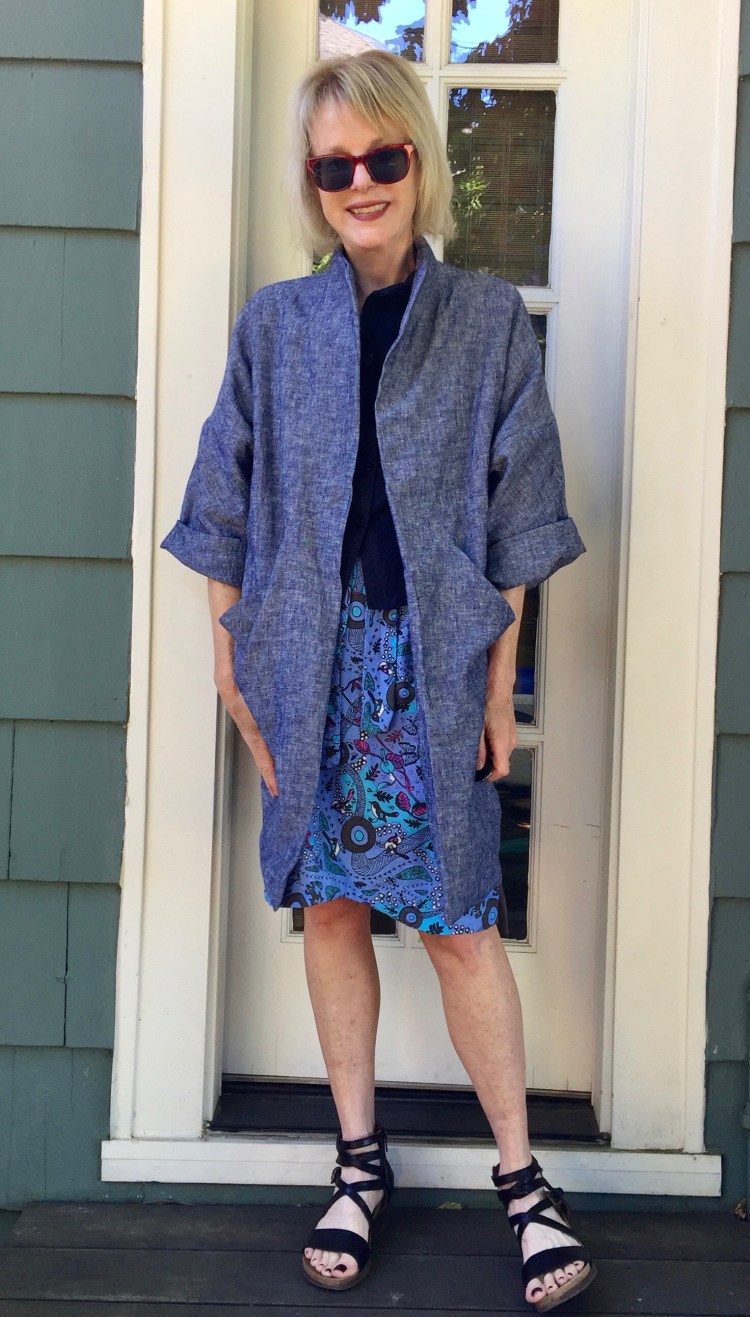
Hi All! I’m sure none of you will be surprised when you see my make this week, another long flow-y kimono! Yes, admittedly, I do have a ‘thing’ for long toppers of any kind (see others here, here and here). So, I couldn’t resist this Simplicity pattern for a long kimono. In my defense, this pattern […]
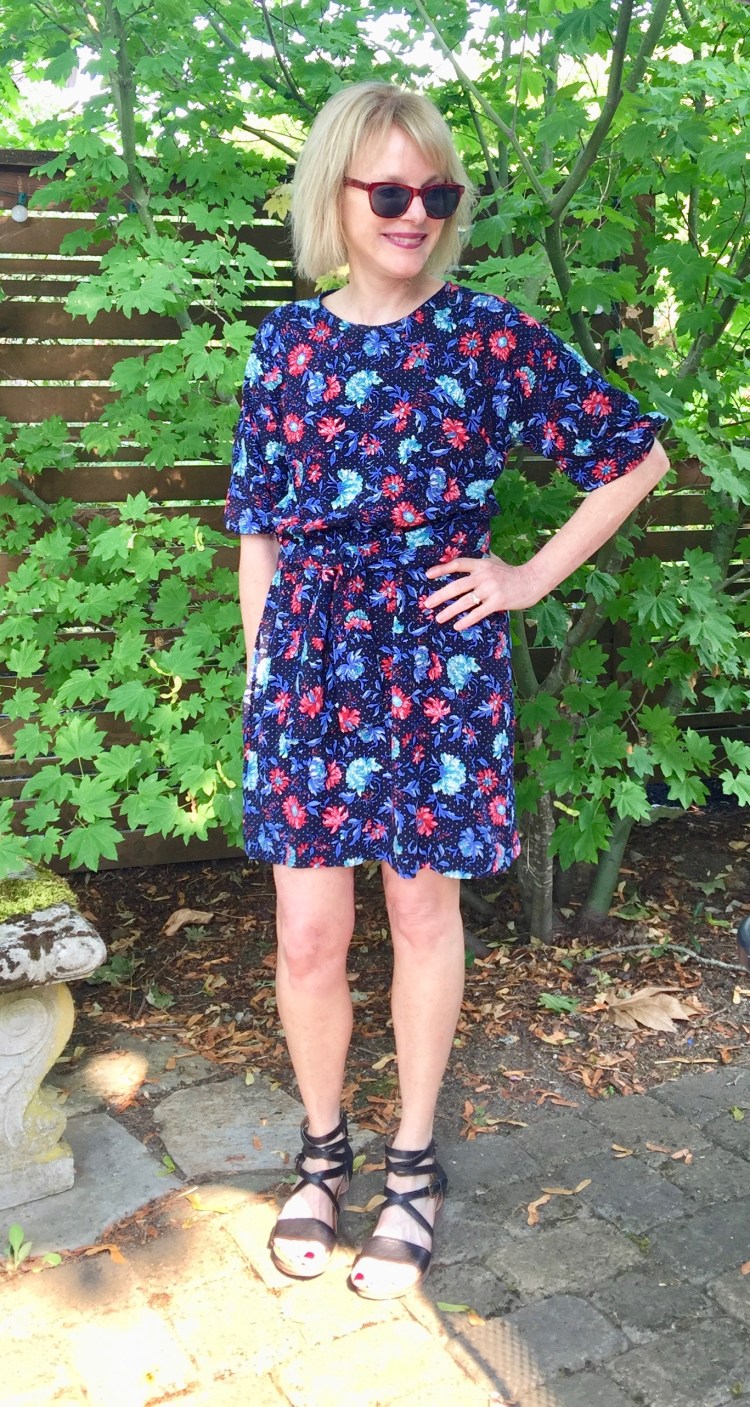
Packing for a trip always points out the flaws in your wardrobe, don’t you think? A planned visit to the already muggy east coast made me realize – I have very few easy-to- wear, easy-to-pack tops that are humidity friendly. Enter Simplicity 8601 – – An ‘easy-to-sew’ top with lots of variations. Version 1; Rayon […]
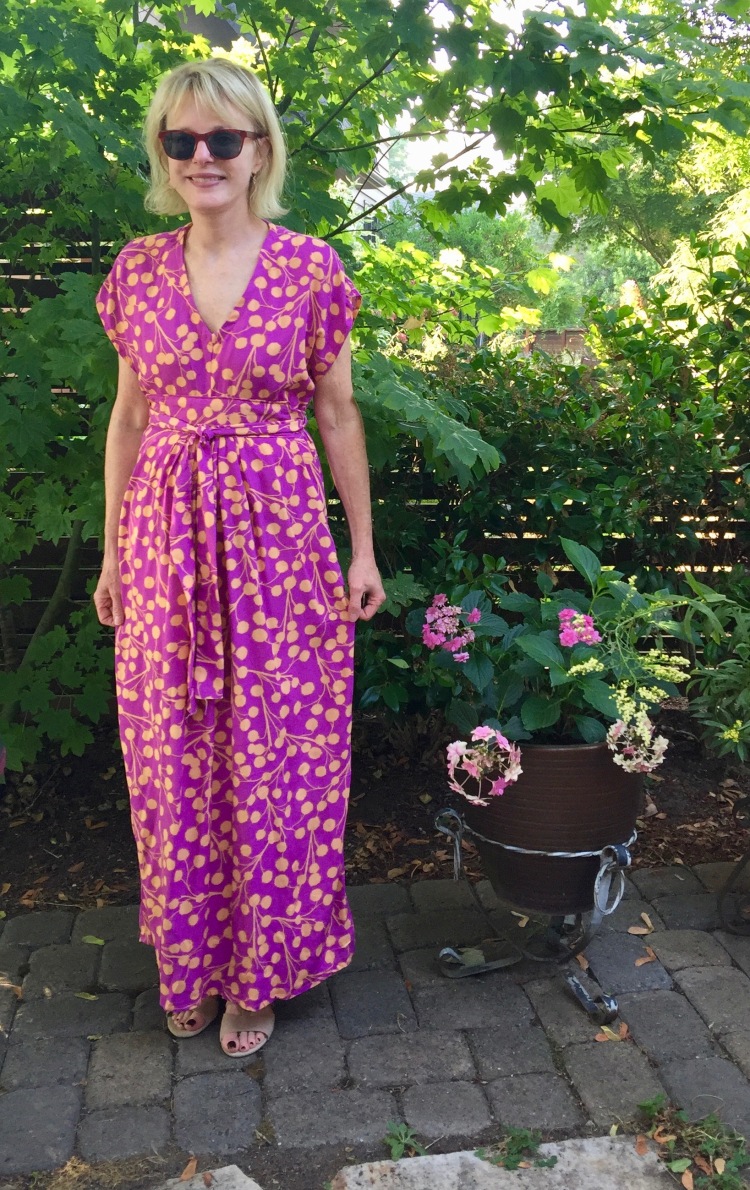
This new Charlie might be my favorite! When I made this version of the Charlie Caftan, I thought to myself, Hey, I might as well get rid of the rest of my clothes because is the only piece of clothing I will ever wear. This dress is so well designed (Heather of Closet Case Patterns), […]
Hi All! Indie Pattern month is winding down over at the Monthly Stitch. The last challenge was to create a mini wardrobe from Indie patterns and I decided it was the perfect motivation to pull out the lovely Indie patterns I’ve been meaning to try, but haven’t. After looking at my patterns and my fabric stash, […]
I’ve been obsessed with shirt dresses this Spring because as dresses go, they have so many advantages! For one thing, the front opening makes them ideal to let in air on a hot day. Also, they’re so versatile. You can add a pair of leggings /pants under them for a completely different look. My […]
If I had to choose only one garment to take with me to a desert island it would probably be a shirt dress, because they just make me happy. This one gets bonus points for being a rayon shirt dress, which is pure bliss to wear in any weather. What’s different about this dress for […]