Yes, it’s a busy time of year, but I managed to squeeze in a bit of sewing…a Gelato top! This lovely relaxed top might be my holiday attire of choice. I don’t know about you, but on Christmas, I prefer a day of relaxed fun…cooking and eating with friends and family, playing games, sitting on […]
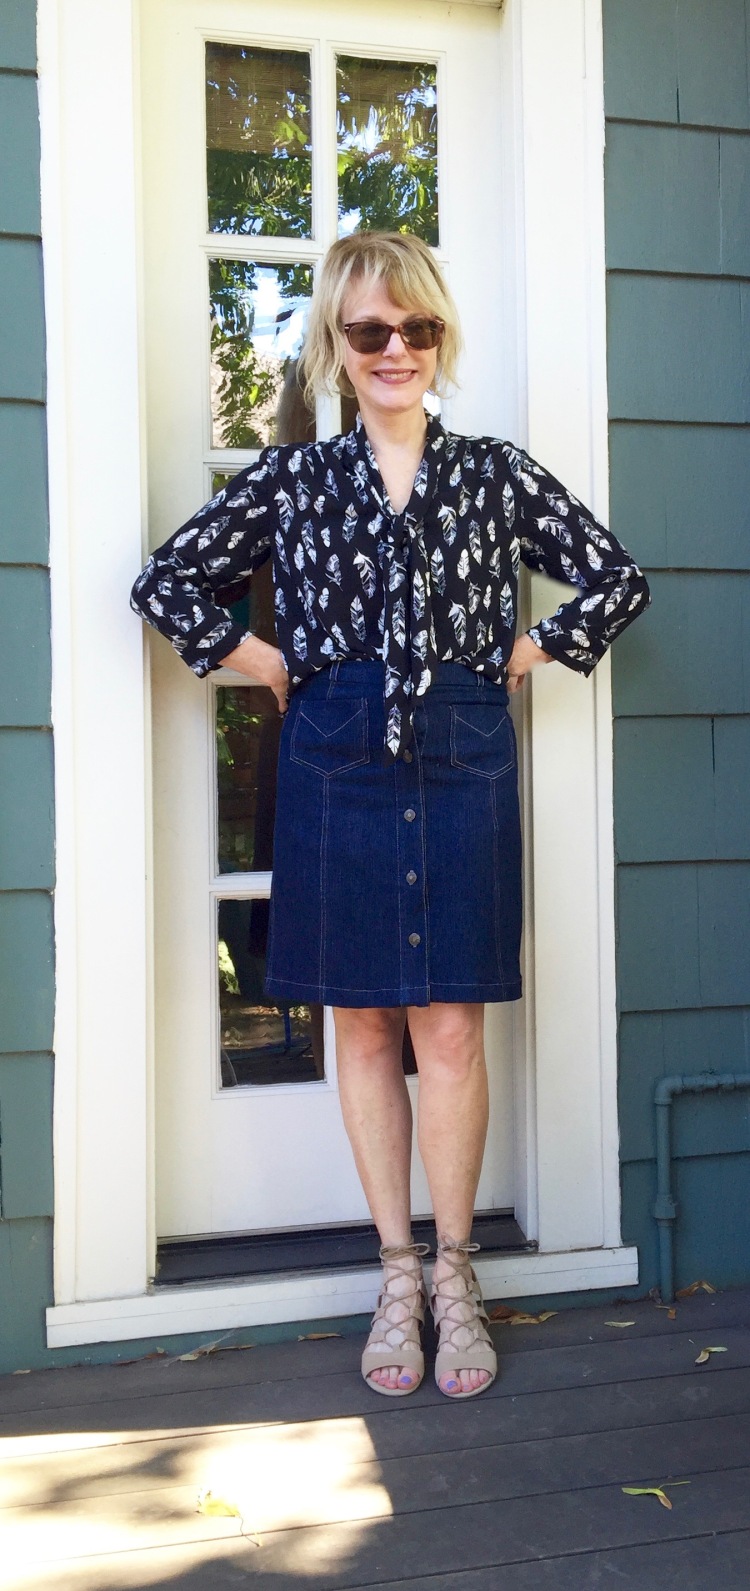
Hi All – – When I saw the sketches of the new Bonnie Top from Sew over It London I was thrilled. If you’re like me, you have a closet full of high waisted pants/skirts, but no tops to go with. I knew that this lovely ‘cropped’ top would fill a hole in my wardrobe. Not […]
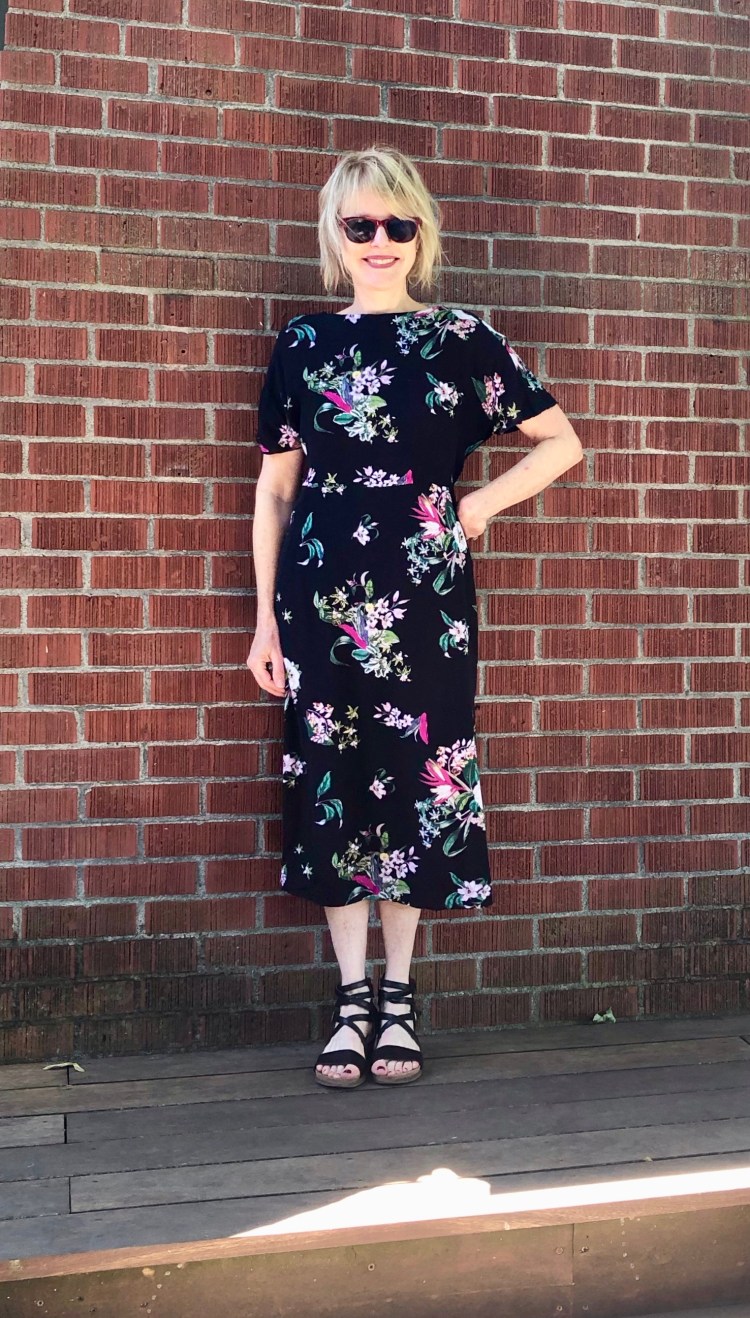
The term ‘back interest’ on a pattern always makes me chuckle, but when I’m done, I give it a long second look! That’s what happened with this Burda make. The photo on the envelope made me yawn, but then I flipped the envelope over and saw the line diagram of the V- back…Sold! The weather […]
I have always looked forward to each issue of Burda Style, but the inspiration I’ve found in the last couple of issues has been amazing. The March issue had so many options I wanted to explore, I abandoned my other sewing projects in favor of a bit of quick gratification. Here are some of the […]
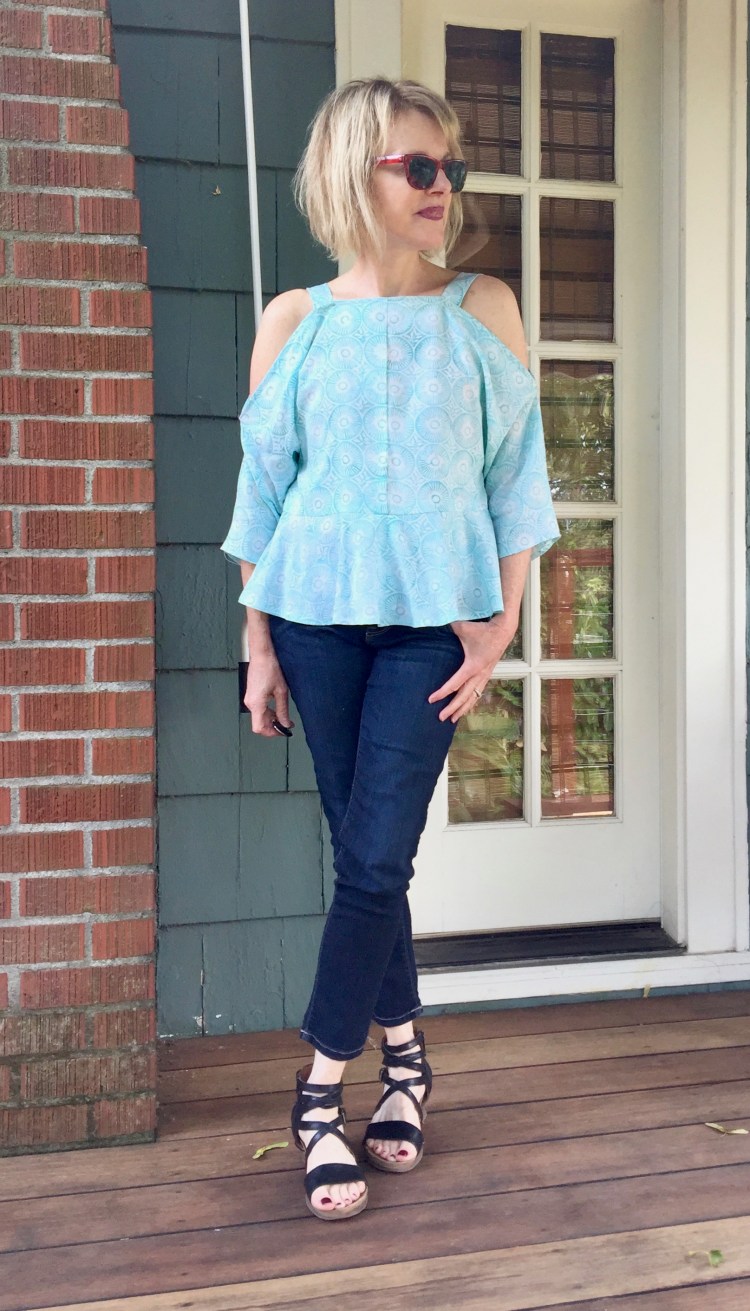
It took me awhile to fall in love with this new pattern by McCall’s. The cold shoulder style put me off at first. I thought I was over that look, but this summer, I’ve discovered that the cold shoulder tops and dresses I made last year (here, and here and here) are the ones I reach for […]
Hi All! I’m sure none of you will be surprised when you see my make this week, another long flow-y kimono! Yes, admittedly, I do have a ‘thing’ for long toppers of any kind (see others here, here and here). So, I couldn’t resist this Simplicity pattern for a long kimono. In my defense, this pattern […]
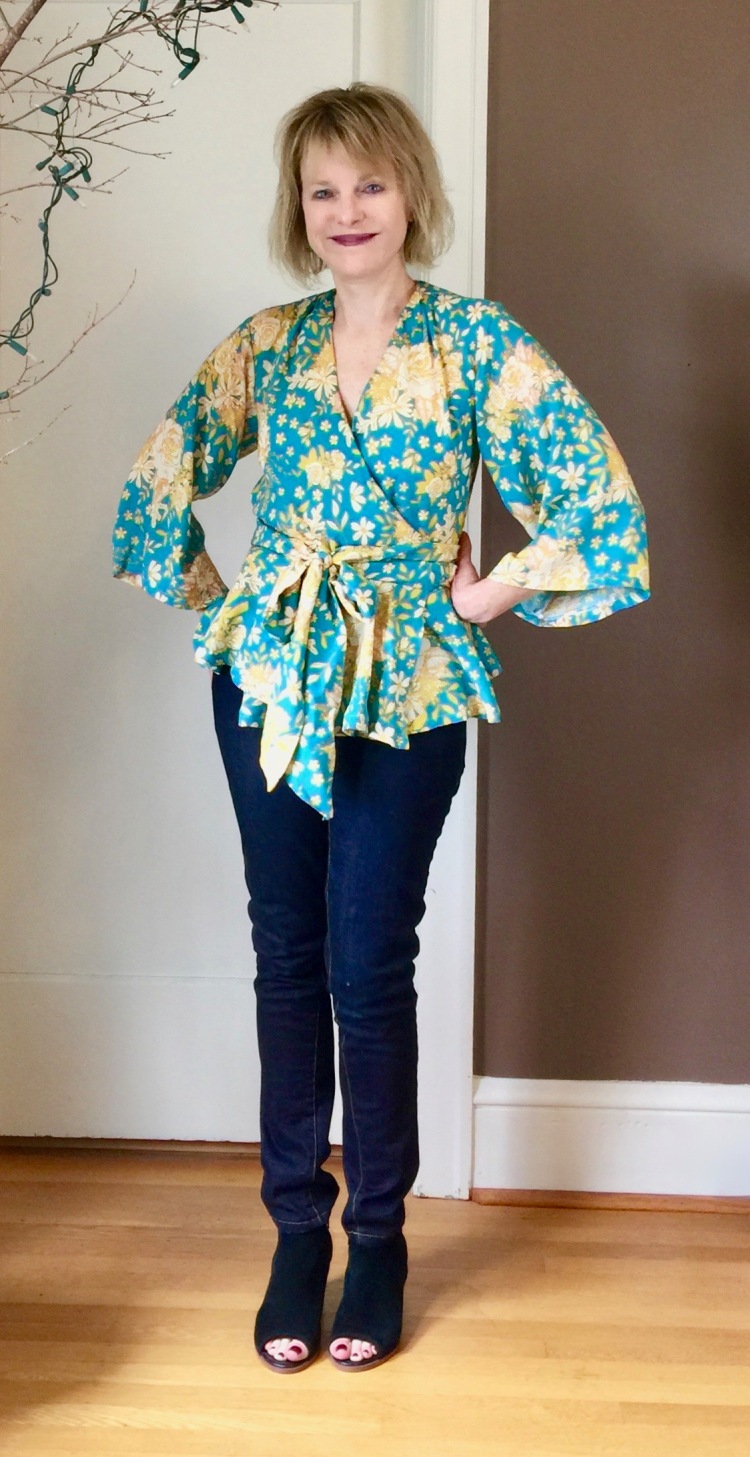
Hi all – I love a good challenge and so I couldn’t resist the #Tops that Pop challenge, created by the talented Faye of Faye’s Sewing Adventures. What a brilliant theme! Who doesn’t want to sew a top? I’ve been wanting a kimono sleeved wrap top for the longest time, so I was thrilled to […]
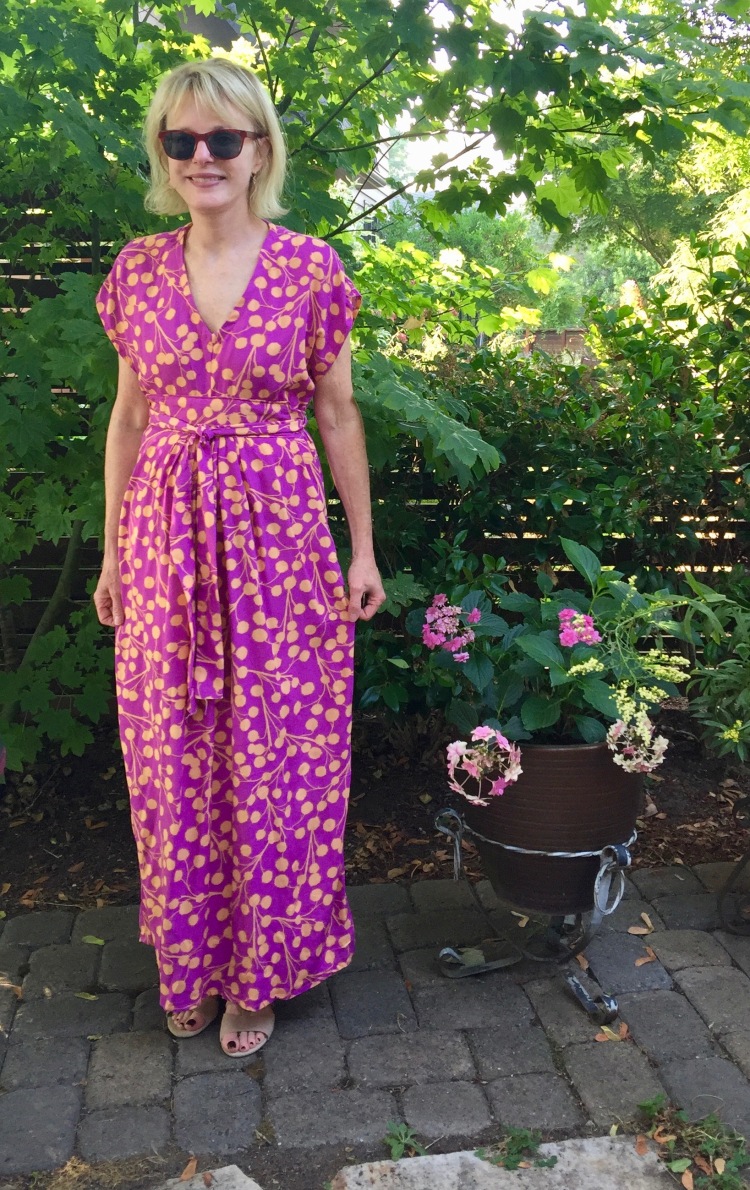
This new Charlie might be my favorite! When I made this version of the Charlie Caftan, I thought to myself, Hey, I might as well get rid of the rest of my clothes because is the only piece of clothing I will ever wear. This dress is so well designed (Heather of Closet Case Patterns), […]
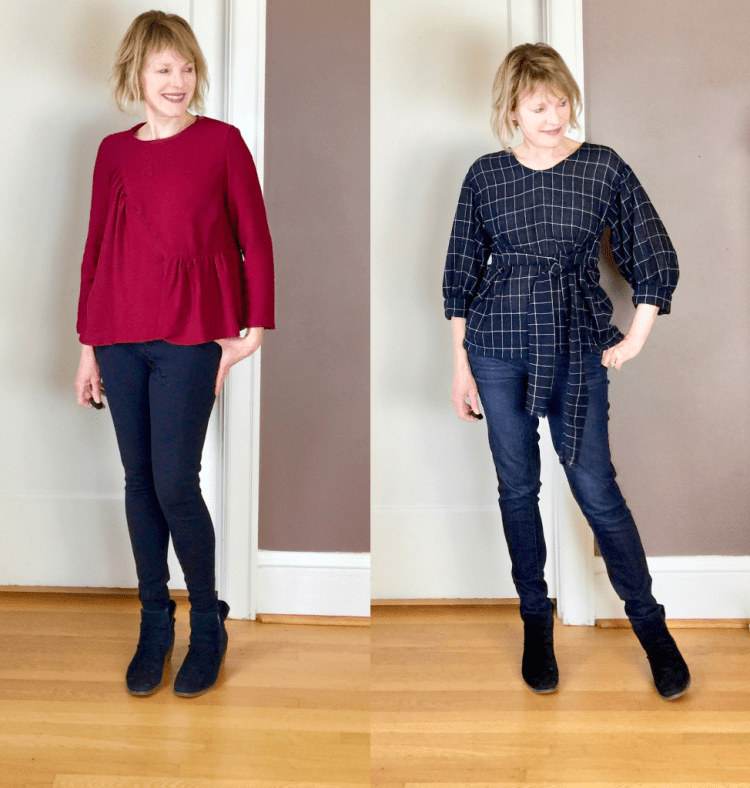
Sometimes, you make one version of a pattern, and you love it so much, you rush have to make another. It wasn’t just the versatility of the pattern that inspired me to sew two (2) versions, it was envy too. When I saw these versions in ready to wear, I had to have one (or […]
I will admit. When it comes to sewing a top, I am a bit of a speed demon. I’m happiest when I’m sewing fast, and I will not stop until I’m done. Yes, I can leave a coat, jacket or dress on the sewing table to be completed another day, but a top? No way! […]