Seeing Red!! An embellished version of Simplicity 3833
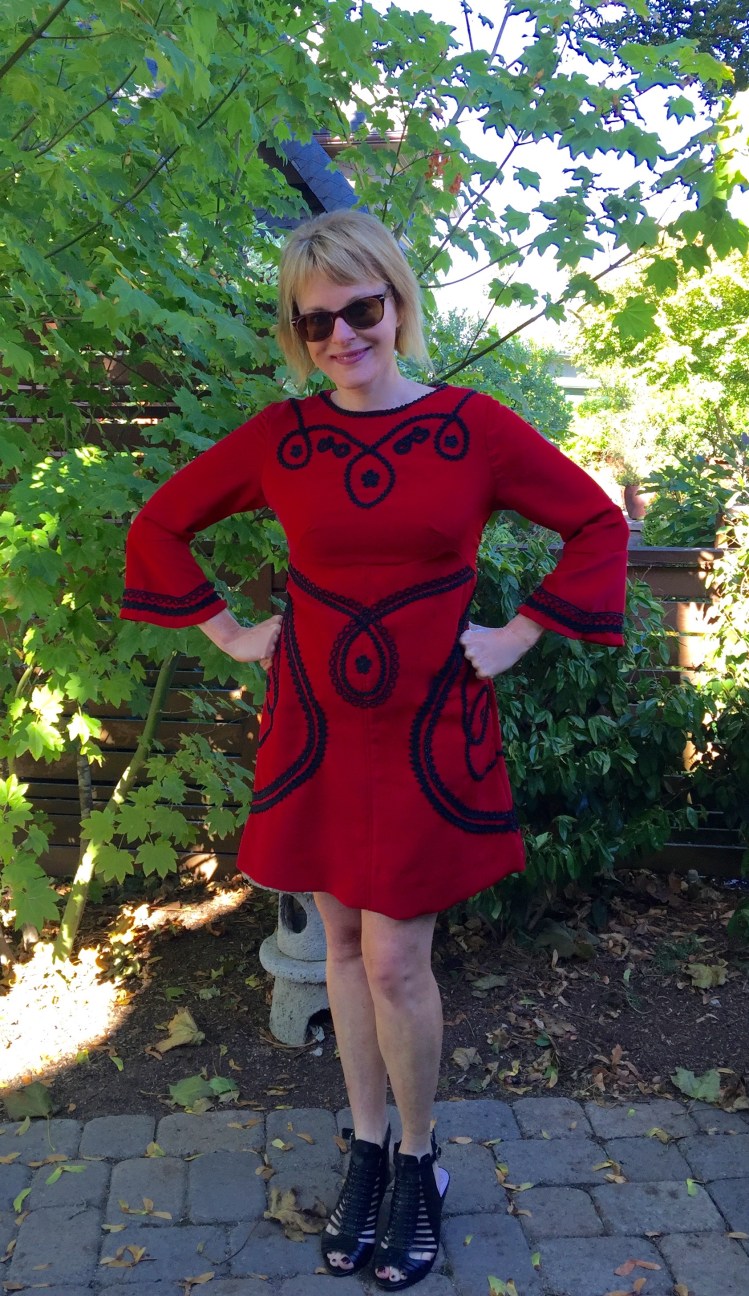
For a DIY red embellished a-line dress, visit Ellegeemakes.com
Read Morefrom inspiration to creation
For a DIY red embellished a-line dress, visit Ellegeemakes.com
Read More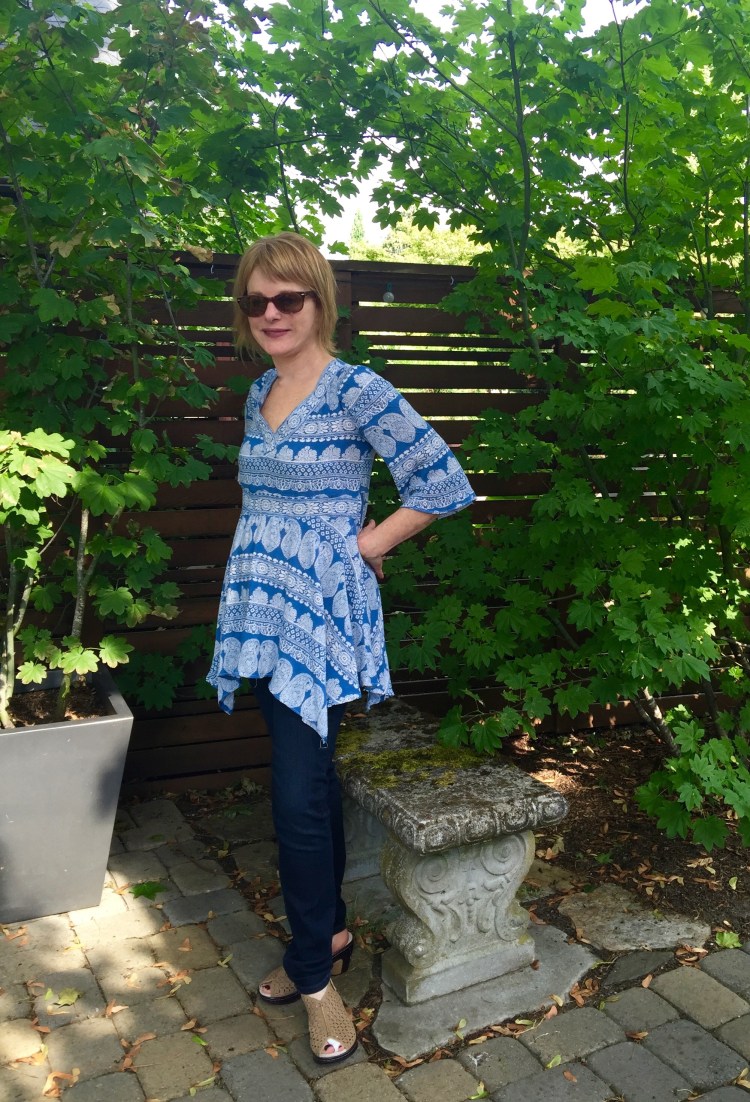
For a review of New Look 6345, and sewing the boho look visit Ellegeemakes.com
Read More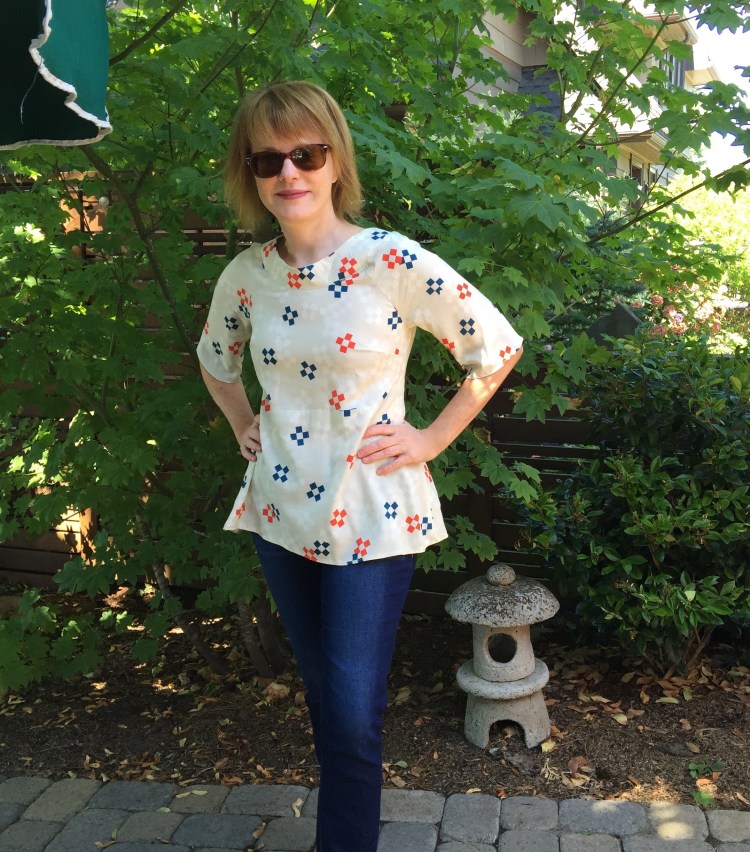
I modified a dress with a inset neck into a peplum top on Ellegeemakes.com
Read More
For a review of McCalls 7093, visit my blog, Ellegeemakes.com
Read More
These days, the weather is so unpredictable! Some days, the sun will shine so bright you’ll reach for your sunglasses, only to rip them off a moment later because they sky is dark and it’s decided to rain. In the morning, the temperature can be as low as forty; in the afternoon, close to seventy. […]
Read MoreFor indulging my fads
This is my dithyramb.
Sewing up a self-made wardrobe
by Stephanie Koutsoukos
from inspiration to creation
Sharing My Passion For Creating My Own Clothes
food I sewing I diy I photo I travel
STYLE | SEWING | SUSTAINABILITY
from inspiration to creation
A joyful sewing place...
Musings and projects of an amateur seamstress
Adventures in Sewing
Pattern Drafting Tutorials and All Things Sewing
from inspiration to creation
My sewing show and tell
Making Life more Beautiful
Stuff that our family has made
DIY dressmaking + crafts with Emily
scissors, needle, forceps - whaaat?
Sew obsessed, sew excited, sew red-y to create!
A lifestyle blogger with a love for many things!
When I'm not complaining, I sew....
Lesley blogging about her sewing projects
from inspiration to creation
Still sewing after all these years
from inspiration to creation
Sewing, Quilting, Crafting, Oh MY!
a sewing adventure
Thank you for sewing with us...
from inspiration to creation
because my fingers itch...
because thread is the best glue.
Sewing Adventures and Life as a Neurotic Mess
