Four Linen LB Pull Overs

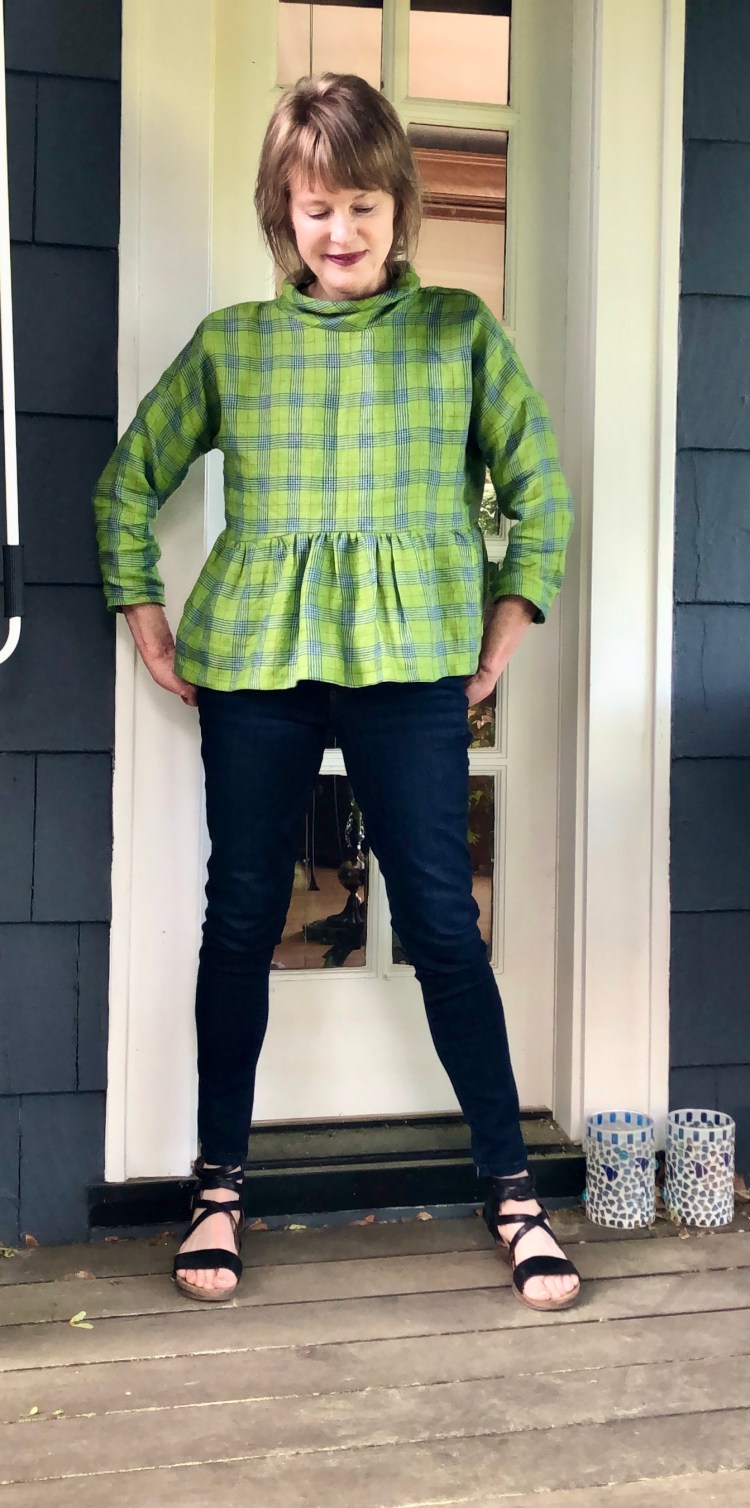
Even though I didn’t post photos during Me Made May, I’ve been taking stock of my me-made wardrobe. To my surprise, my Spring wardrobe includes 4 linen LB pullovers! What’s even more surprising, is that I’ve never written a blog post about one of my favorite patterns. It’s time to rectify that situation.

If you’re unfamiliar with the LB pullover by Paper Theory, here’s a quick run down. It’s a loose-fitting top that is suitable for wovens or knits. It has drop shoulders and long sleeves which you can modify to any length you want. There are two neck finishes, a turtleneck version or crew neck. I love this pattern because the look changes with your fabric choice. Also, it’s fun to hack!

My first linen version was simple.

This is a straightforward, out of the box version from lightweight linen (Josephines fabric.) Instant love. Immediately, I cut another in a lightweight linen (from Britex).

This time, I cropped the bodice by 6 inches and added a 8 inch peplum. To figure out how wide to make the peplum, I measured the width of the fabric at the bottom of the bodice and multiplied that by 1 1/2. Then I gathered the peplum using long stitches before stitching it to the shortened bodice. So easy! I love the loose fit of this version.

I used a remnant in my stash for this violet colored version. I absolutley love the soft feel of this linen. I cropped this version a bit, shortening the bodice by three inches. The sleeves are 3/4 length and I love to roll them up. I used the turtle neck pattern, but took a 1.5 inches off the width. This top is so easy to wear. It’s in heavy rotation.

This last version is color blocked with two linen remnants.

When the weather is hot, this hankerchief linen version is my favorite. It’s so great to work with a pattern that looks so different based on your fabric choice. I have two more LB pullovers on my cutting table, this time in knit fabrics. More on those in another post.

I hope you are well and happy during this strange, challenging time. I am grateful for the joy sewing brings and for our fabulous community of makers. Happy sewing and thanks for stopping by!


#sewjapaneseinjuly meets #tableclothrefashion

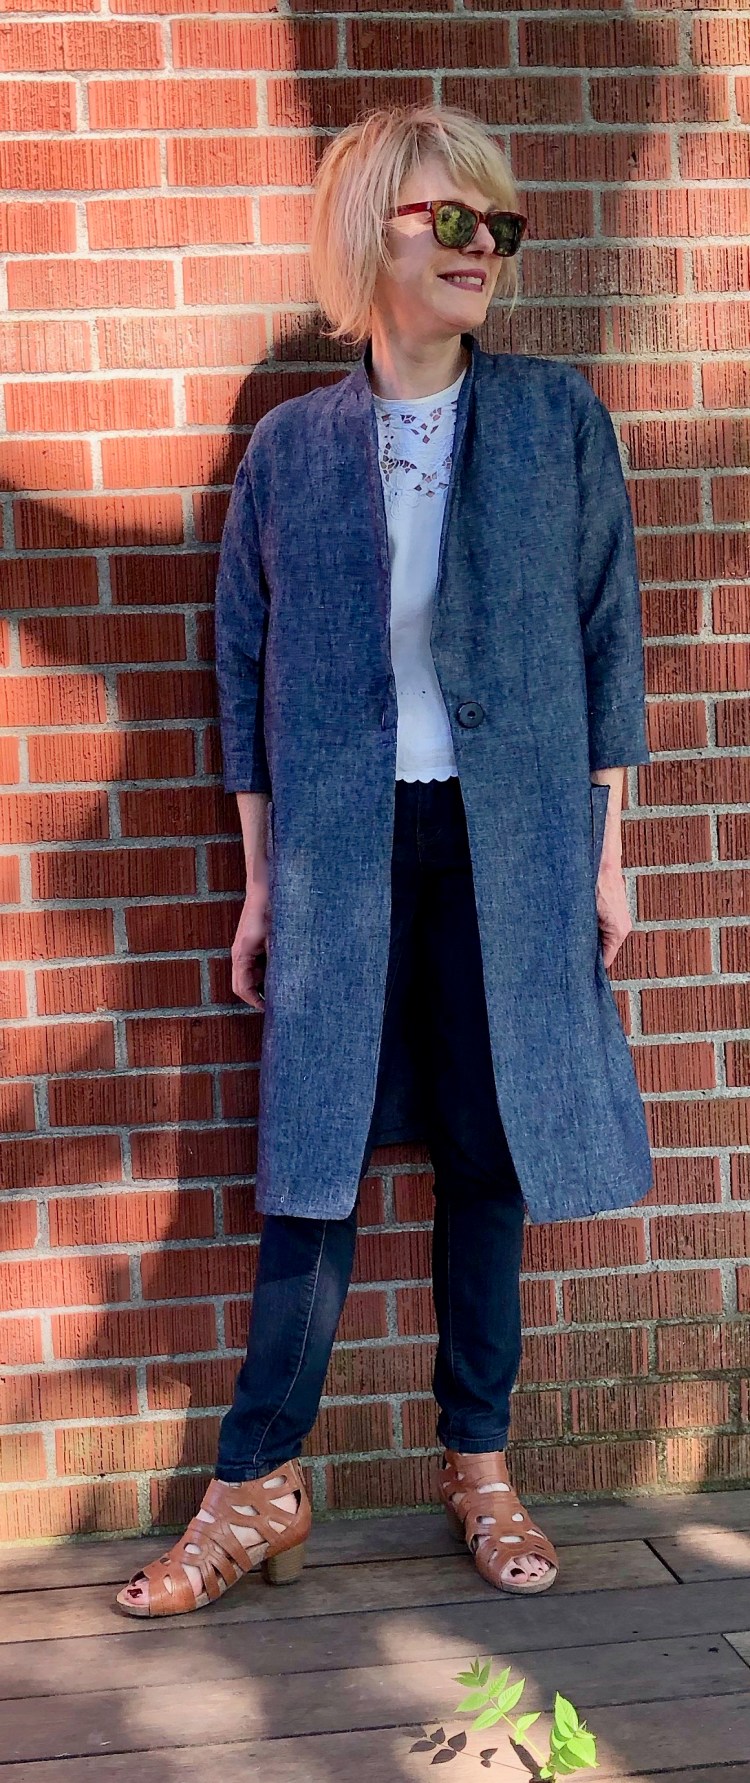
July was a big month for sewing challenges. There were so many on Instagram, I coudn’t keep track of them all. For me, two challenges stood out above the rest: #sewjapaneseinjuly and #scarfrefashion, which also includes tablecloths. Yes, my last post was about a tablecloth refashion, but as you all know, one thing always leads to another for me, and that project was so fun. I guess it isn’t too surprising that I had to do another revashion before July was done.

But first, my #japeneseinjuly make…

IMG_2306 This is the Summer Jacket from the Nano Iro sewing studio book.


Nano Iro is a watercolor artist who creates beautiful textiles. Her designs are transferred to cotton and linen, which are perfect for clothing. Not only does she create beautiful textiles but she is an author. On a recent shopping trip to Bolt fabric here in Portland, I discovered that her recent book has been translated to English! Of course, I couldn’t resist….this is the summer jacket from that book.

images

To me, Japanese sewing books are great because the styles are simpler and cleaner which allows the fabric to take center stage. That’s why, for this jacket, I reached deep into my stash for one of my favorite pieces of linen.


IMG_2318My linen has the tiniest bit of sheen which makes the denim color really pop.

IMG_2241I love the classic lines and the shawl collar of this summer jacket. The construction is basic but clever…the shawl collar is supported by a back neck facing that keeps the neck from rolling.  The pockets are patched onto the jacket, which gives it a utility jacket feel, so on-trend! It’s unlined so construction is a breeze. If you can set in a sleeve and attach a basic collar, you’re good to go! Use a medium weight fabric for this project with a bit of drape.  IMG_2305This style works with everything in my closet – – I suspect this jacket will be in my suitcase when I go to Italy this September!

On to the  tablecloth refashion…

IMG_2284This is the Basic Blouse, cut from a circular vintage table cloth purchased at an estate sale. I wish you could see from these photos that the cut detailing is embroidered with blue thread – – Love!!


Construction of this top was simple..The sleeves are cut into the bodice so there’s nothing much to it. The trick was in the layout….I had to place the cut detailing appropriately. I used the scalloped edge of the tablecloth as the hem and the center of the tablecloth as the yoke of the bodice. The sleeves are highlighted with more cut detailing, and after some tricky maneuvering I managed to get the sleeves to mirror each other. IMG_2287I added a back slit at the neckline and finished it with bias binding.

IMG_2246 2

I love my new outfit…and to think both pieces were inspired by sewing challenges! What challenges are you inspired by?

IMG_2190 Happy sewing and thanks for stopping by!


New Pattern Release: Sew Over It Bonnie Top/Dress

IMG_1008 3Hi All – – When I saw the sketches of the new Bonnie Top from Sew over It London I was thrilled. If you’re like me, you have a closet full of high waisted pants/skirts, but no tops to go with. I knew that this lovely ‘cropped’ top would fill a hole in my wardrobe. Not only that, but the Bonnie top has pleats! IMG_1005 2The Bonnie has a 1940s vibe with its defined waist, button up front and vertical pleats. It has a cute flat collar and short sleeves with little turn-up cuffs, a design detail that is subtle but effective. I like that the button placket is concealed – – it makes it a bit more polisihed – – a top that can go to a dress up event. There’s a dress version as well that has a knee length gathered skirt and a comfortable elastic waist.  I do love the pleats, but if you want a faster make, there’s a version of the Bonnie without pleats too. I know there will be a version of that view in my future.

I used a lightweight rayon for my version of the Bonnie, and it worked perfectly. Sew Over It recommends rayon/viscose, lightweight crepes, georgette, chiffon or very fine cotton voiles, in other words anything soft and drapey. I’d warn against anything heavier like a stiff cotton. The pleats wouldn’t have a chance to shine. If you are making the pleated version, the wider the fabric the better, as you need lots of room to lay out the front bodice as the pleats make it fairly wide.

IMG_1003.jpeg

Fit and sizing – – I made my size according to my measurements and it fit nicely, without adjustment. I spent a bit of time fussing about the fit of the waistband, but I shouldn’t have bothered. The buttons don’t extend there so the waistband falls open ever so slightly…the fit isn’t tricky at all.

Construction– -When it comes to the pleats, I found the trick was to carefully mark them on my fabric. From there, construction was simple…. All I had to do is fold, press and sew!  Thankfully, the Bonnie  has very clear markings. I transferred them using a chaco marker. Once I’d accomplished that, pleat constructions was easy and fast. The concealed front placket was pretty simple too  once I had the markings transferred.

IMG_0998.jpegI love my new Bonnie top and plan to wear it with my high waisted skirts (the skirt I’m wearing is blogged here), pants, perhaps even with jeans. I can imagine an even dressier version out of silk or chiffon, and the dress version is on my ‘must-make’ list. Really, the Bonnie is one of my favorite Sew Over It patterns! Thanks to the Sew Over It London team for giving me the opportunity to make this lovely pattern!

Happy sewing and thanks for stopping by!

As a Sew Over It Pattern Insider, I received a download of this pattern for free, but the opinions expressed here are my own. 

Tops That Pop – Kimono Wrap Top

IMG_1168
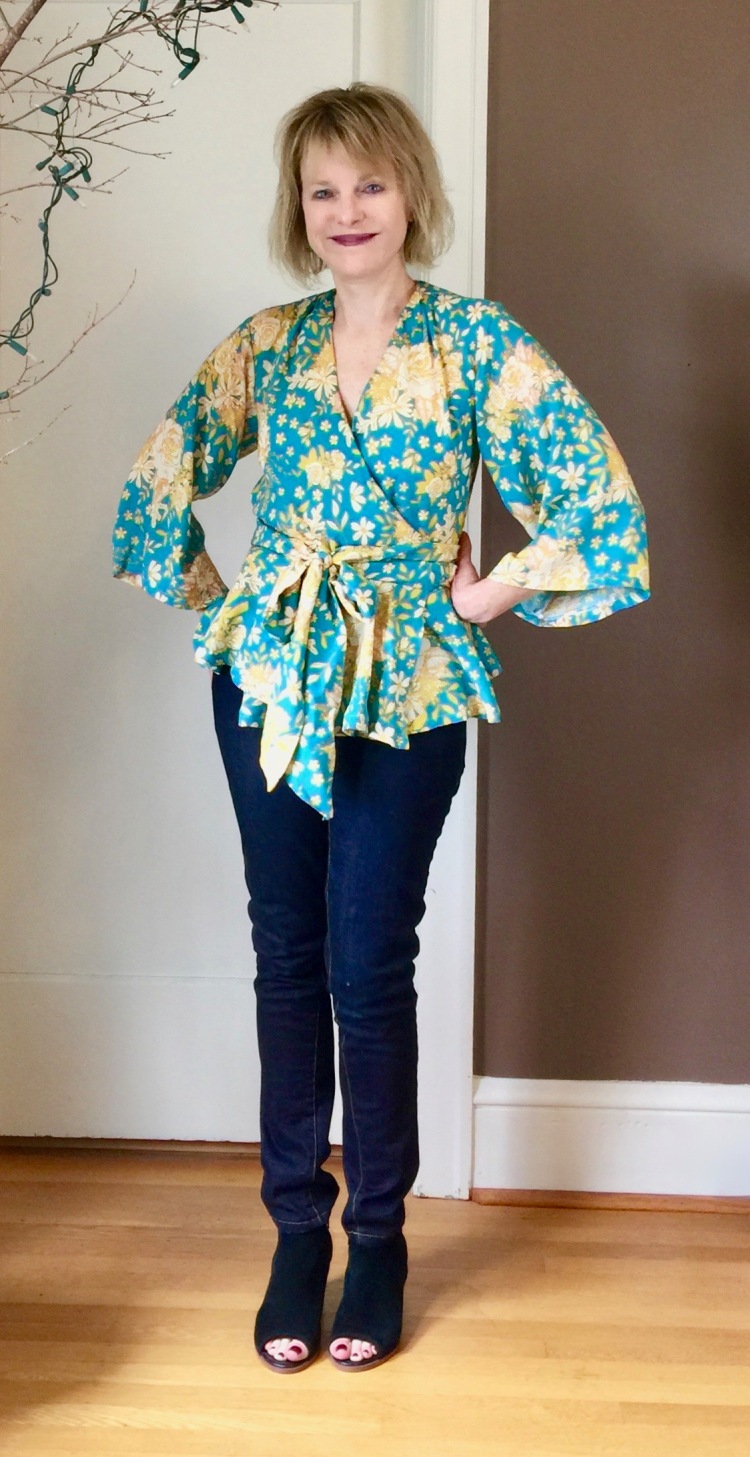
Hi all – I love a good challenge and so I couldn’t resist the #Tops that Pop challenge, created by the talented Faye of Faye’s Sewing Adventures. What a brilliant theme! Who doesn’t want to sew a top?

IMG_1204

I’ve been wanting a kimono sleeved wrap top for the longest time, so I was thrilled to find McCall’s 7627 on sale at Joann’s.


When I first looked at it, I didn’t think it was the pattern of my dreams, primarily because I was focussed on the statement sleeves that went with view B. Yes, those sleeves are interesting and very fashion forward, but I can tell you, they are just too much for me :).  So I combined the sleeve in view D with the short wrap bodice of version of View B.

Fitting Challenges: Because I’m short-waisted, fitting a wrap dress/top is a bit tricky. On this dress, after a paper fitting, I could see the waist was way too long, so I shortened the bodice by a full inch. My other fitting dilemma on wrap dresses is that I usually get a front gap at the neck because I have narrow shoulders. To prevent this, I took out a 5/8″ in the back shoulders. This helped tremendously.

IMG_1195

Fabric: McCall’s suggests crisp fabrics for this top. I chose a softer rayon (Fabric Depot) because I wanted it to look drape-y.  I love this rayon – it’s so soft and comfortable and was a dream to sew.

The pattern was pretty well designed and the instructions were clear. I’m not wild about the darts at the shoulder though….not sure why they’re necessary since they aren’t very flattering.


IMG_1212 All in all, I do think this pattern is a keeper. I may make the dress version at some point, and may take out the shoulder pleats. But there are so many patterns and so little time, so who knows if I’ll make it back to this one again.

Thanks to Faye for creating this fun challenge. She’s posting all of the #Tops that Pop on her blog, and there’s lots of inspiration there.

Happy sewing, and thanks for stopping by!