If you stare at gingham for too long, do you go crazy? That’s what I asked myself as I completed yet another gingham top. My cat seems crazed if he stares at a fly for too long. His eyes gloss over and he starts to twitch. I’m sure I had that same vacant look in my eyes as I stitched down the home stretch on this top!

“Another gingham top?” you ask. “Why?”
The answer is simple. Blame it on Anthropologie. I took a quick spin down their aisles recently, and noticed that gingham was ‘having a moment’. After trying a few garments on, I became convinced I would die if I didn’t add some gingham to my wardrobe, because, honestly, those little checks just make me feel good! Gingham is a cheery fabric, don’t you think? Who can frown, when they’re dressed in gingham?
When I found this lovely blue (!!) and white cotton at Fabric Depot, it seemed fated! More gingham for me!
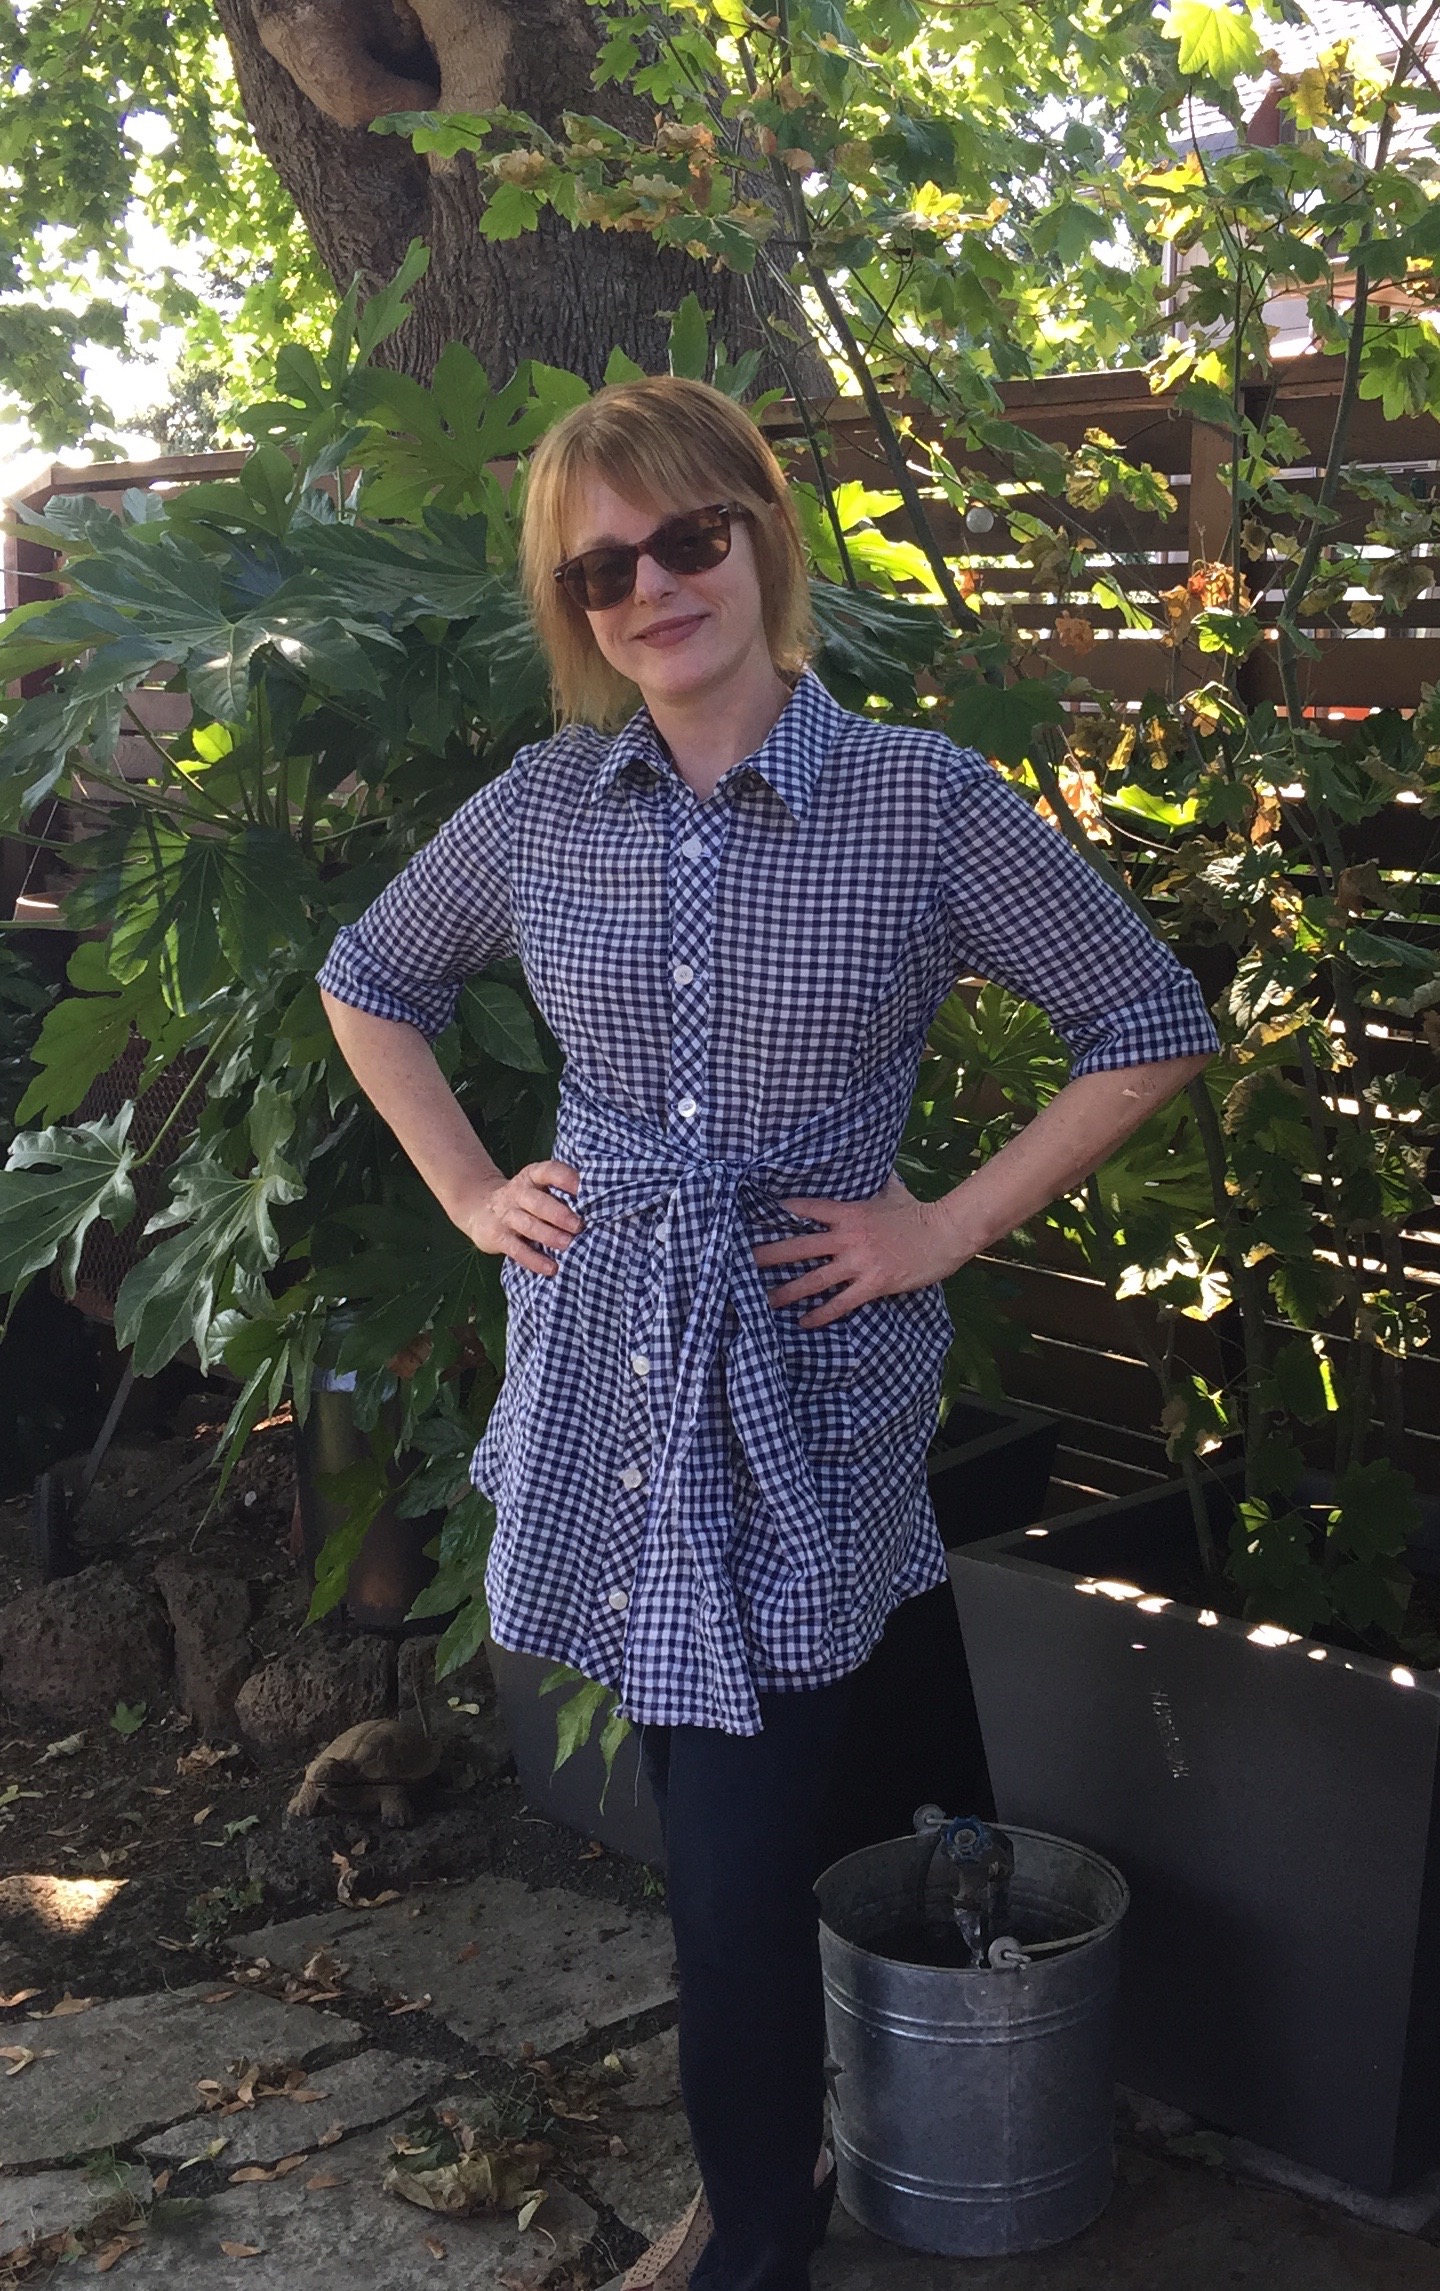
The pattern for this tunic/shirt is McCalls’ 6125, a princess seamed shirt pattern that I’ve used more than a time or two. I love princess seams. They’re flattering and, they make me look taller (…ummm, right?).

I made View C as drafted with one exception. I added a sewn-in tie at the waist. Since my shirt is tunic length, adding a built-in tie seemed like a fun way to make this shirt stand out from the crowd of shirts that lives in my closet. Also, rather than have everything line up, I cut the side panels and the front placket on the bias to make them stand out.
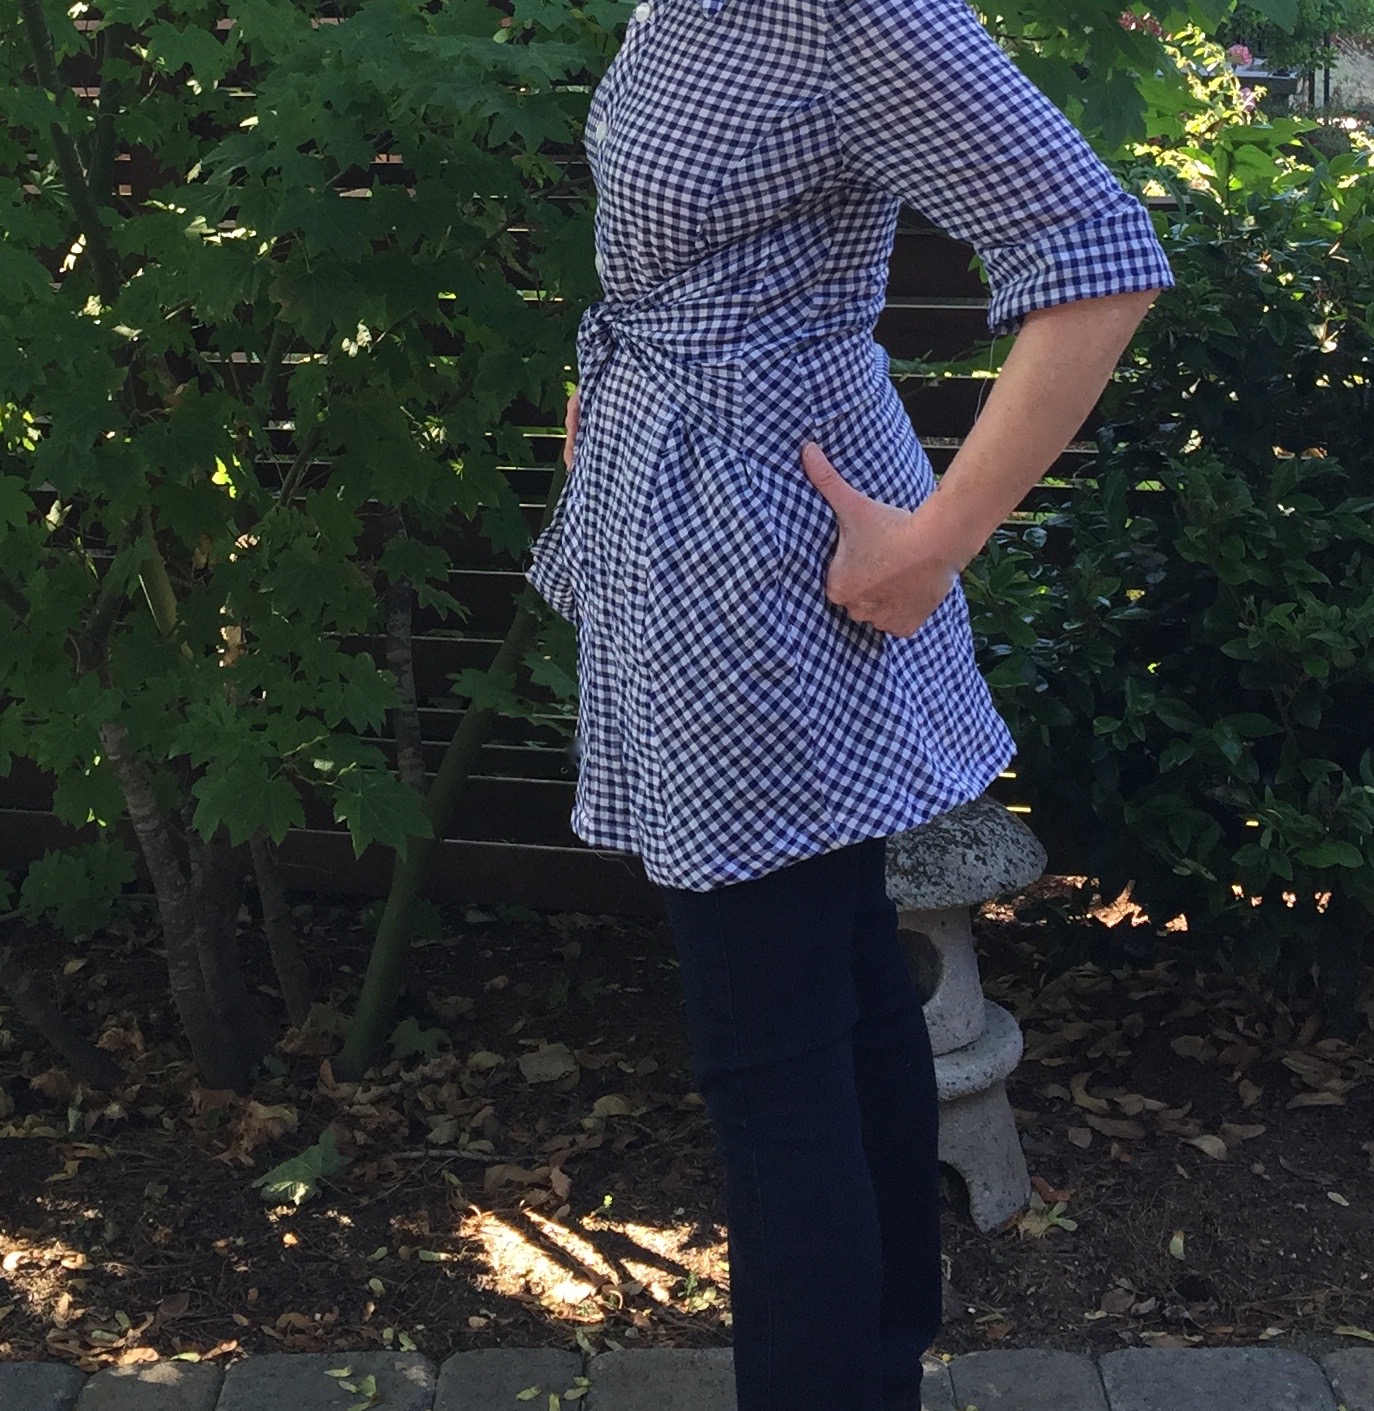
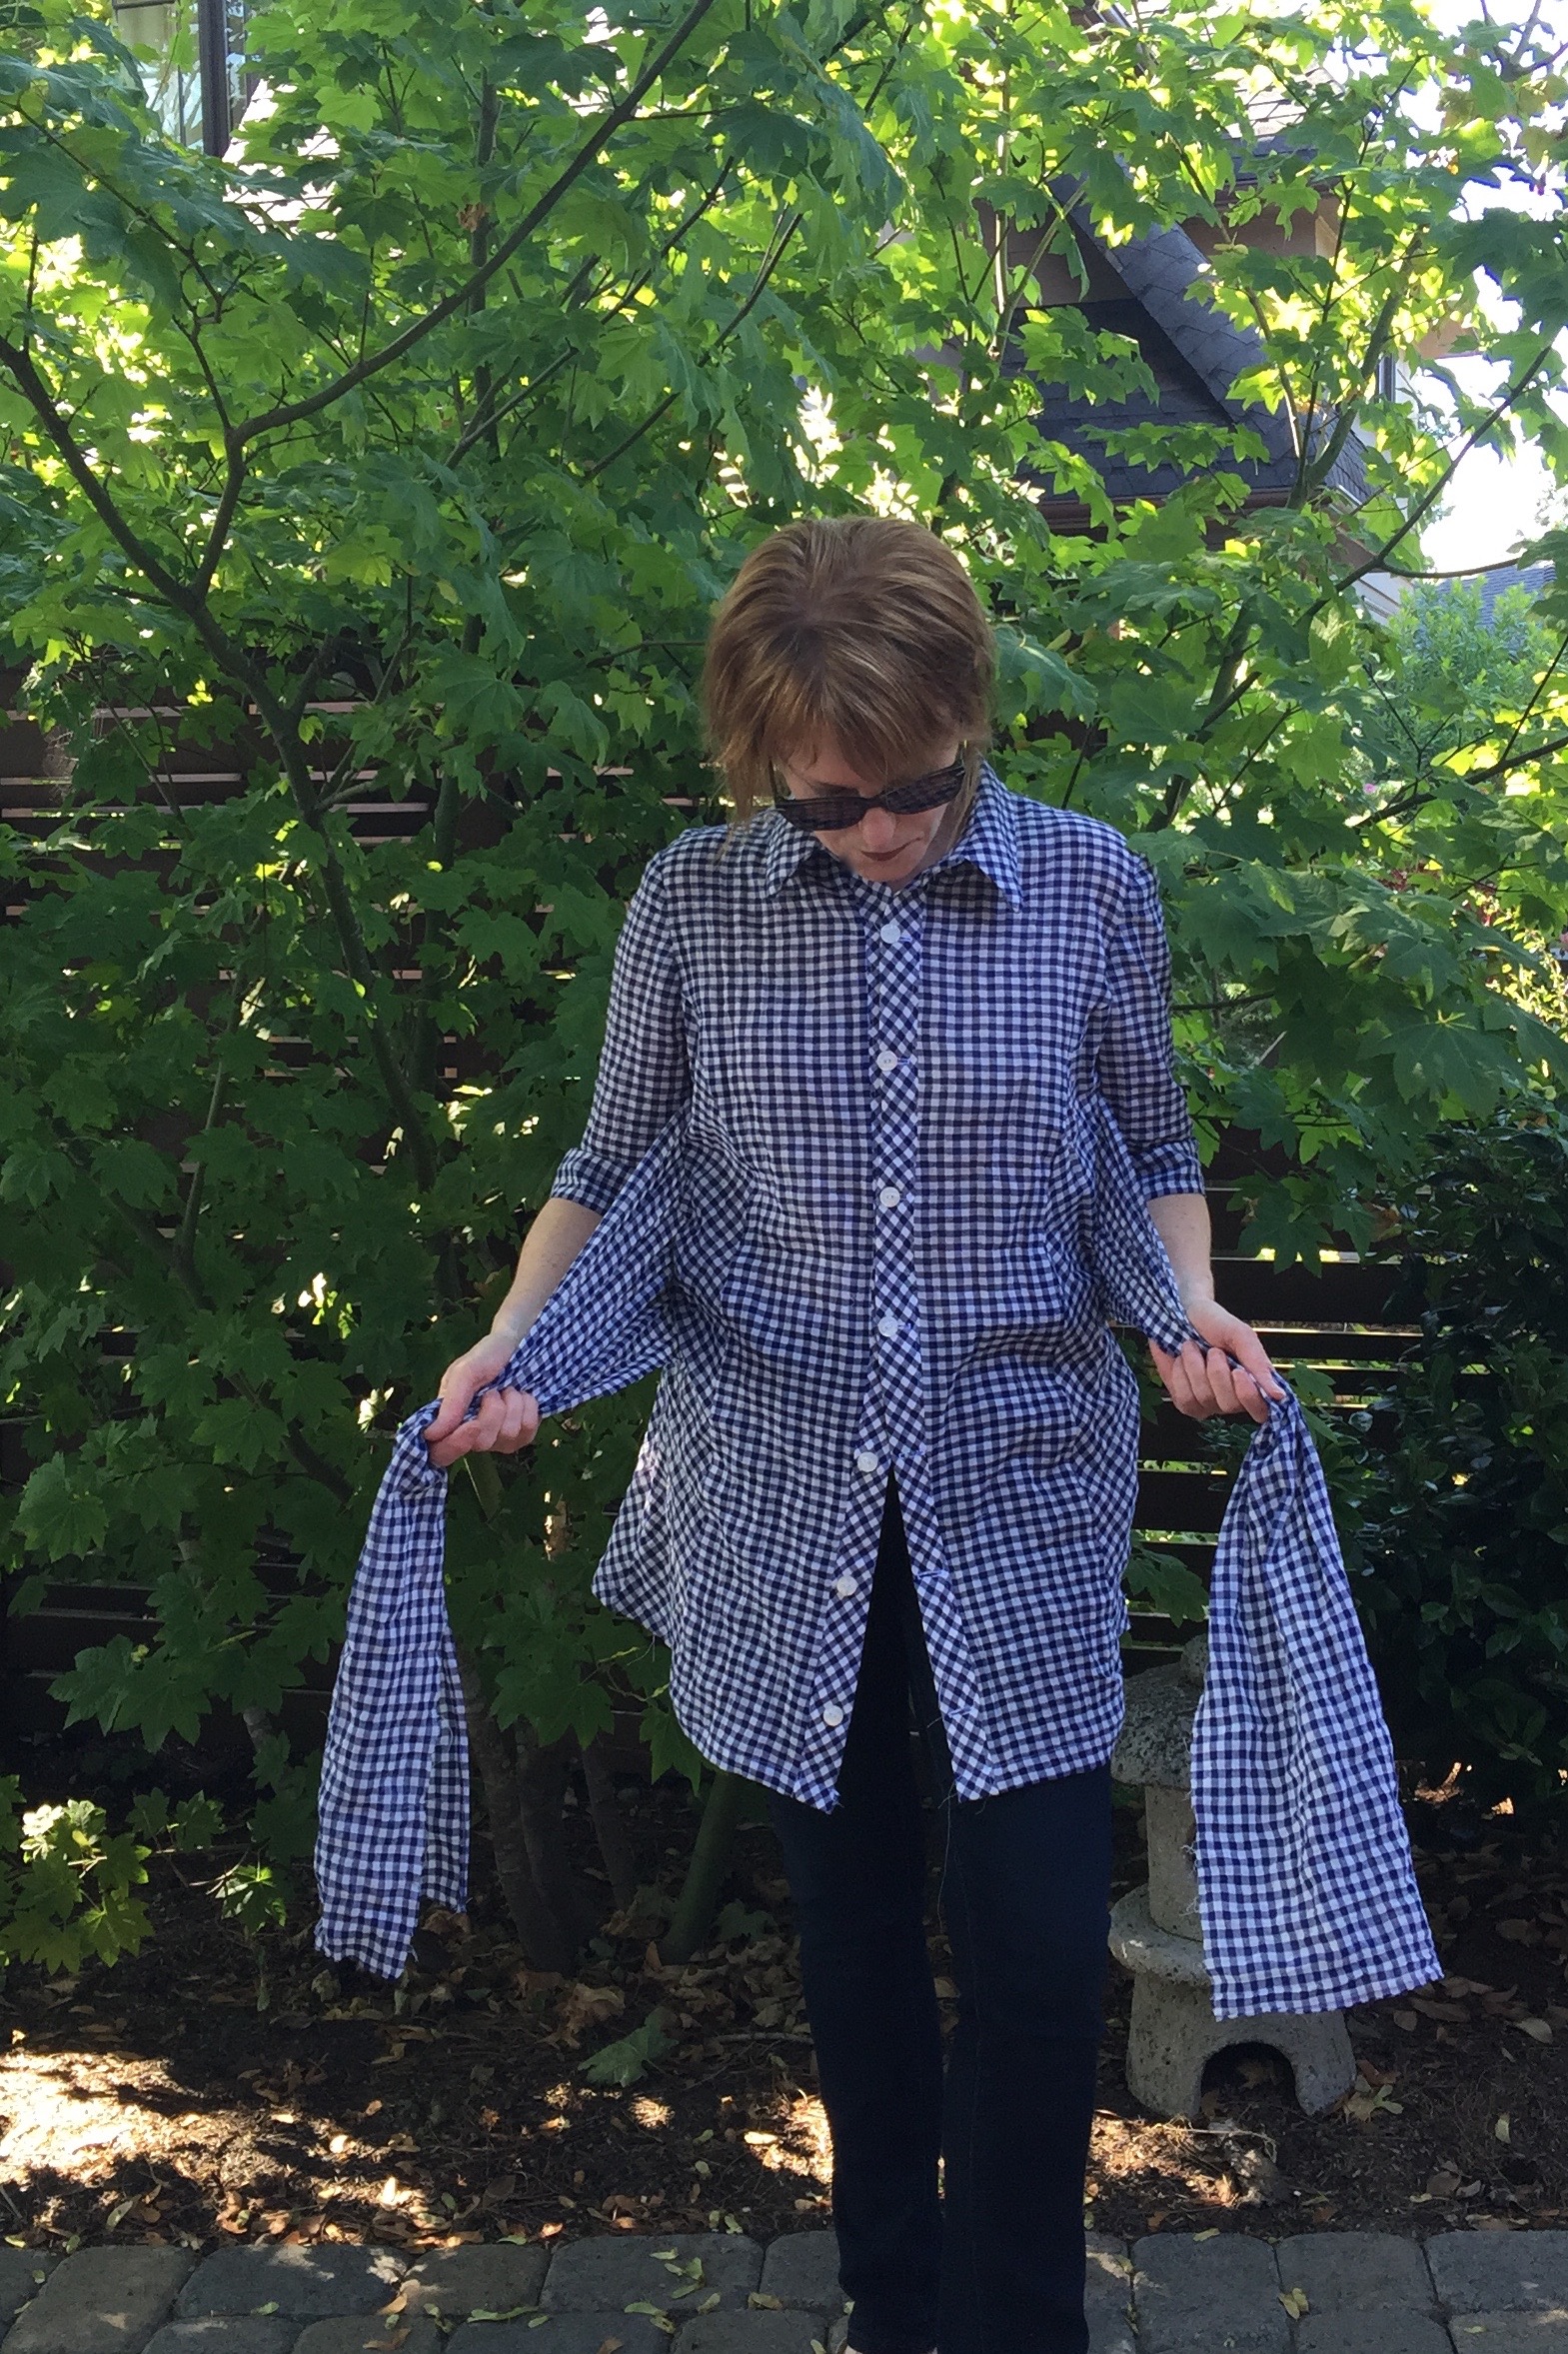
The ties were simple pieces to add. I just cut two (2) eight inch wide rectangles, each sixteen inches long. After finishing the edges of each tie, I inserted the ends into the side seams, lining the edges up with the bodice’s seam allowances, then closed up the seams. The tie as I drafted it is fairly wide. This makes it easy to cinch at the waist, or you can drop it a bit for a looser look. I love having the tie built into the shirt. That way, you can’t lose it!
This McCall’s shirt pattern is one of my favorites. It has a front band, princess seams, hem slit openings, and collar variations. The instructions are very straightforward and easy to follow. It’s a nice basic pattern, that fits me well without any tricky modifications.
Believe it or not, it was over a hundred degrees today here in Portland Oregon. Yet I was comfortable in my light cotton shirt! This is a very good sign. Perhaps, this gingham top will become one of my ‘regulars’. After all, even Elizabeth Taylor wore gingham!


As I finished this blog post, I did notice one ‘oops’ about my shirt. The buttons don’t line up perfectly. Not sure if this means the button holes are too big, or the buttons aren’t placed correctly on the placket or what? I struggled to mark this fabric accurately as it moved around a bit. Perhaps that’s where I went wrong? Thoughts?
Happy sewing! Thanks for stopping by!


I absolutely love this! The ties really make it, and the length is perfect too. I didn’t notice the buttons until you mentioned it – I think it’s because the buttonholes are horizontal instead of vertical – the buttons will slide to the outside edge of a horizontal buttonhole. A possible quick fix might be to close your buttonholes with a few handstitches at the outer edge (centre front), and then maybe use smaller buttons if the current ones won’t fit through the gap left.
LikeLike
Thanks! Oh, of course! The buttonholes need to be vertical! I didn’t think of that. Great idea to close them up a bit of hand stitching and hope that fixes it.
LikeLike
I am a self-confessed hater of button downs. You have me rethinking my beliefs. I am truly shaken and desirous of a gingham button down with sassy front tie!!!
LikeLike
Yeah, button downs can be a bit preppy for me. But my Bernina has this automatic buttonhole option that is so much fun! Gotta use it….The front tie was super easy to add!
LikeLiked by 1 person
Good idea having the ties! I bet it was cool. I didn’t notice any problem with the buttons. Who’s going to look that close anyway!
LikeLike
Thanks! I’m glad you didn’t notice the button problem…I guess the good news is that the issue taught me a valuable lesson. Keep those buttonholes horizontal!!
LikeLiked by 1 person